First of all...hello and welcome! 17 and I'm so excited that each and every one of you are here!
If you've noticed, I'm trying to come up with different things to bring you throughout the week. I have Feature Friday, which is the "experimental mani of the week." Sometimes they are great, other times, not so much. And now Tips, Tricks, and Tutorials Tuesday. I would like to use these posts to tell you about things I've tried, made, etc. Maybe they'll be great ideas and maybe not so much. That's where the adventure comes in!
So today, I'm bringing you my tutorial for making a lightbox. There are many different variations out there. As a former, semi-pro photographer, I found this to work the best for me. Also, bear in mind that my experience in photography was in 35mm film. My digital camera is actually a hand-me-down that's quite old and does not have a very good lens.
First, why a lightbox? A lightbox allows you to take photos of objects (or manis) with a continuous, uncluttered background. It also helps to minimize glares and distracting shadows. The indirect or diffused lighting also avoids hot spots that usually result when you take photos using an on-camera flash (especially fixed flashes on point-and-shoot cameras).
For my lightbox, I decided to use as many materials as possible that I already had on hand. Plus, I did not want to make it out of foam core since I move a lot and it would be destroyed during the next move. You can absolutely make this out of white foam core (available at any craft store) to save some work. I used a cardboard box I had left over from the holidays. That's my sweet Hubberoo doing the cutting for me!
I wanted my lightbox to be square, so the width of my existing box
dictated the finished size. Since the box was 15" wide, I (or should I say, the Hubberoo) cut it down
to be 15" long. He just cut out the back and left the sides. The sides were then able to be folded up to create the new bottom (shown below).
Some lightboxes have holes cut in the sides with the holes covered with tissue paper. Lights would then be positioned outside the box, as in the diagram below.
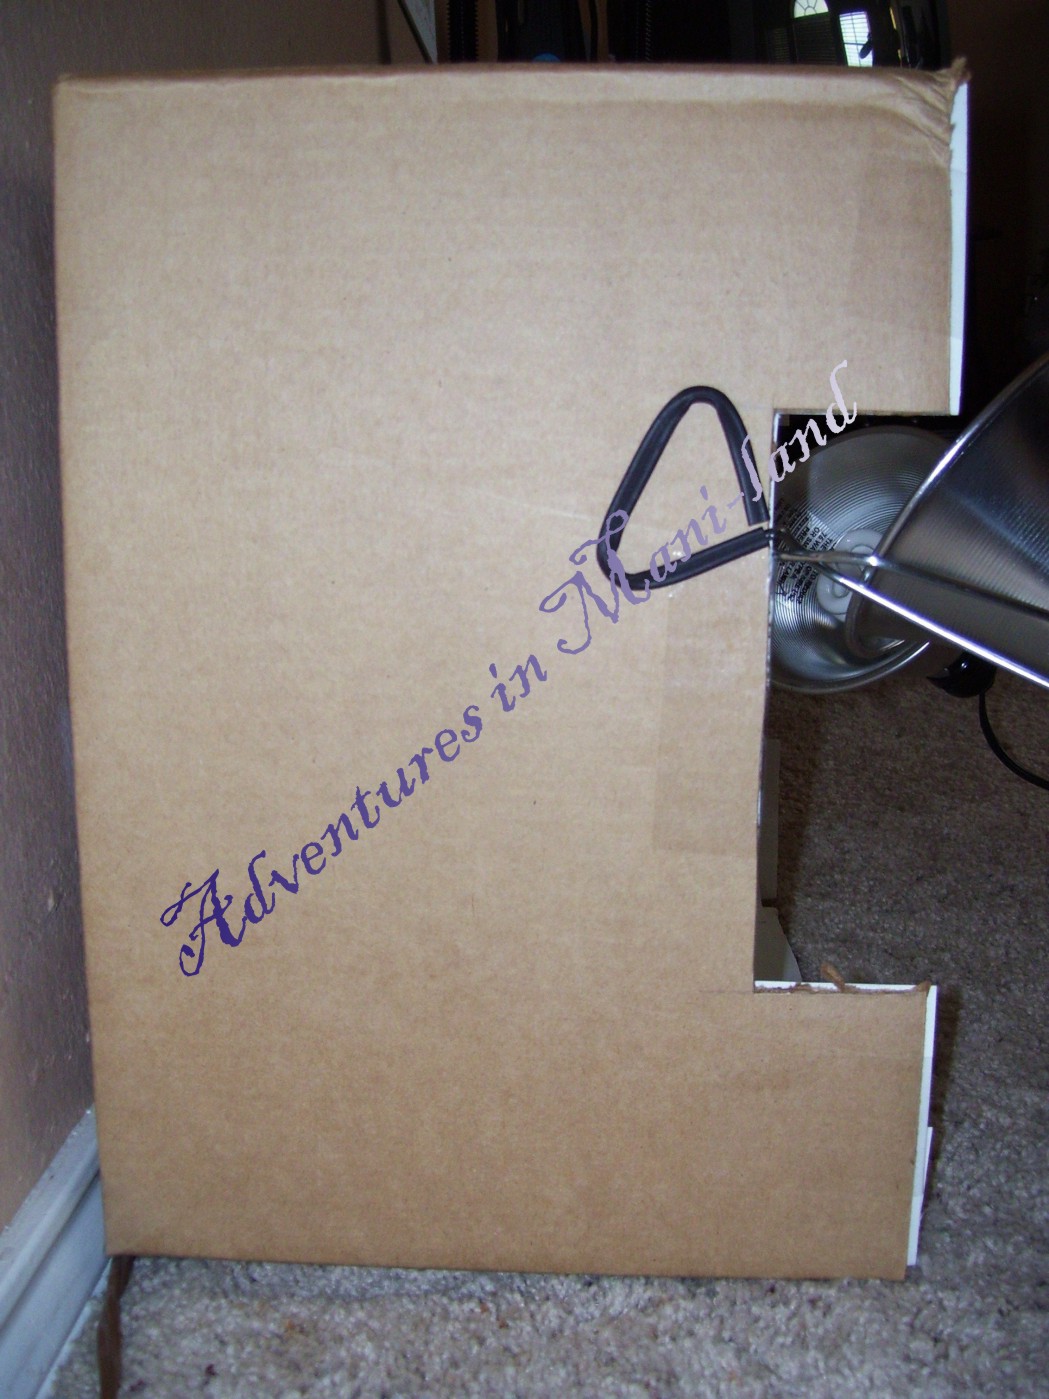
I did not want to use this setup because I would prefer to fill the box with indirect light instead of using a diffused light. It can be difficult to diffuse the light effectively to avoid hot spots, glare, and shadows. So I cut two notches from each side. The notches were approximately 2" x 7". The purpose of the notches is to get the lights to be slightly recessed into the box to effectively bounce the light off the top of the box and down onto the object(s).
Next, I lined the box with matte white poster board (glossy poster board will cause glares). I cut the white poster board to fit both of the sides and the top of the box. I attached the pieces using double sided tape. Then I measured the back and bottom of the box and cut one piece of poster board to cover both surfaces. I did this to create a continuous piece of poster board to serve as a backdrop with no seams or creases.


Now all that's left to do is attach your lighting! I picked up two work lights from a hardware store. I also grabbed two bulbs. I will tell you to save your money on the bulbs! All you need are low watt (mine are 60 watt equivalent) daylight bulbs. I paid about $6.00 for a package with two bulbs. Some people will tell you to splurge on more expensive bulbs. This is absolutely not necessary unless you are using a very expensive, high-end camera. Most of the point-and-shoot digital cameras are not sophisticated enough to pick up small deficiencies in regular daylight bulbs.
I attached my lights to the notches in the sides of the box and angled them up to the top of the box. You may have to play with the angles a bit to find what works best. Take some test shots and look for glares or shadows and adjust your lights as needed. Here is what mine look like:
 |
| Lights off |
 |
| Lights on |
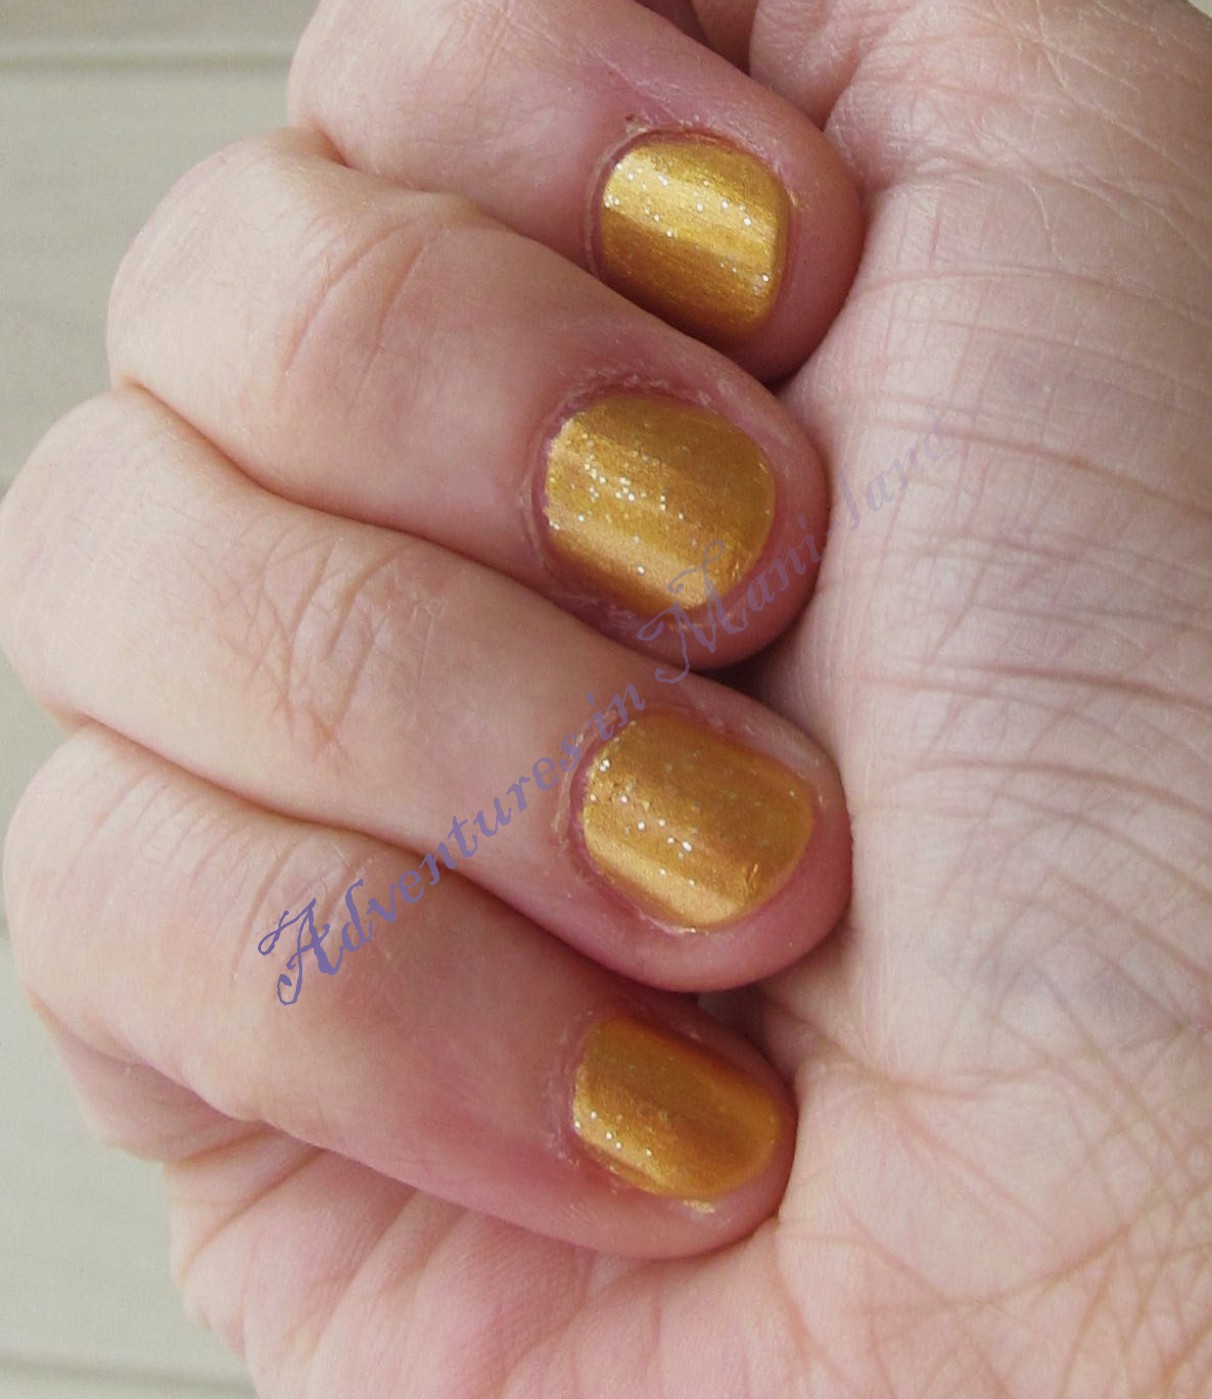
And the results!
Hope this helps you! And remember, this is what worked best for me. There are tons of options for building a lightbox. Go with what works and what is easiest for you to do. If you made a lightbox recently, let me know in the comments so I can check it out!
And since it's Fat Tuesday, I am throwing in a quick Mardi Gras mani! I used Revlon's Not So Blueberry as the base. Then I added SH Insta-Dri in Jumpin' Jade and ChG Champagne Bubbles on my accent nail using tape. Topped it all with SV. Enjoy!